Design and technology of the tubular: our pride
At the beginning the tubular was called "Palmer" as it had been designed and patented by the American John Palmer in the far 1889. Its main feature was to incorporate the inner tube into a single "body", whose tread is similar to the one of a clincher; the inner part, in contact with the rim, is finished with a fabric tape, which is literally glued onto the rim base with some mastic or double-sided tape.
However, Palmer’s work was jeopardized by some legal troubles brought about by a rival company that had presented the same patent some weeks later. Thus, Palmer decided to move to England and start up a business, called "London Palmer Tyre Ltd.", to produce his tubulars.
Yet, the tubular turned out to be expensive, prone to punctures, not long-lasting and complicated to repair and substitute; so it wasn’t a success among the average consumers. However, thanks to the main advantages that this technology could offer, the tubulars became popular for racing among professionals.
Twenty years after its launch, lots of European companies designed and offered similar products, but everyone used to refer to it with the term palmer to identify a special kind of road bicycle tire for racing.
Design and technology of the tubular
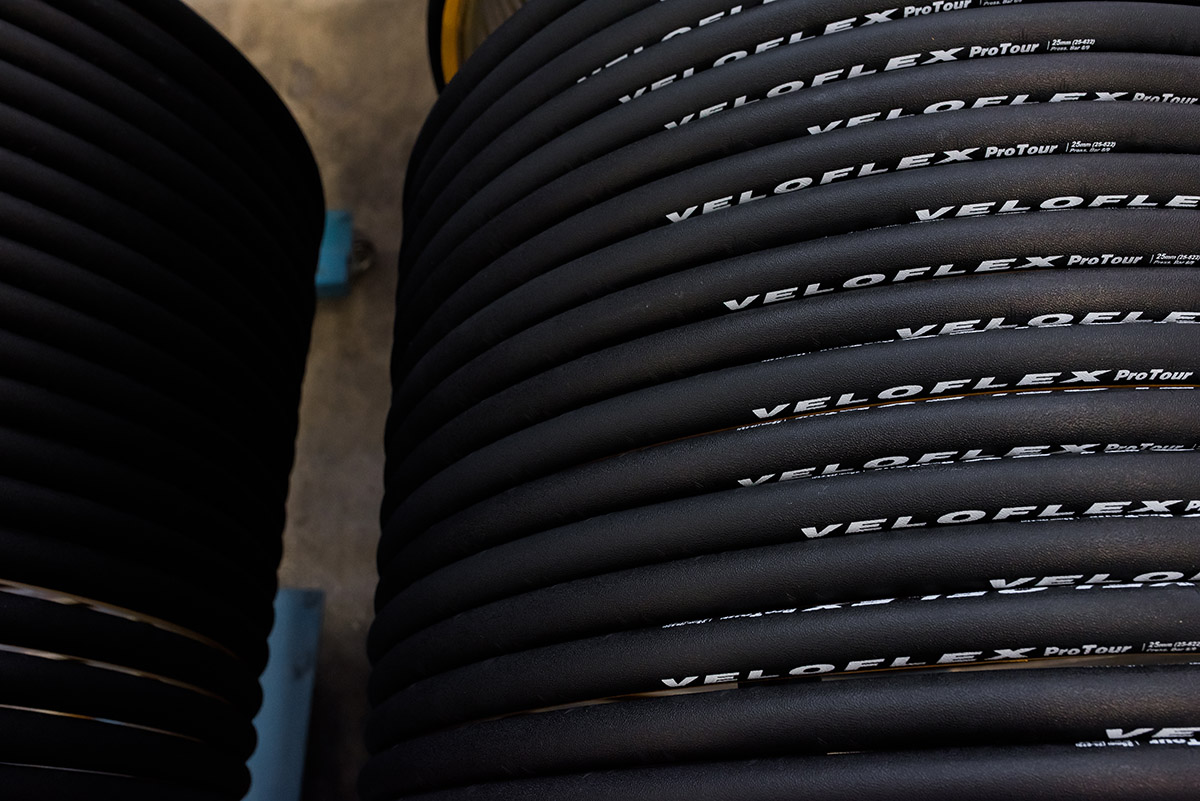
Ever since Veloflex was founded in 1981 it has specialized in making road bicycle tires by hand, besides producing clinchers and tubeless ready. 35 different steps are needed to create a tubular starting off from raw material and the different components (i.e., the spun, latex, rubber, glue, the valves), and each operation is rigorously made by hand in our warehouse in Italy.
That’s the reason why our tubulars are unique.
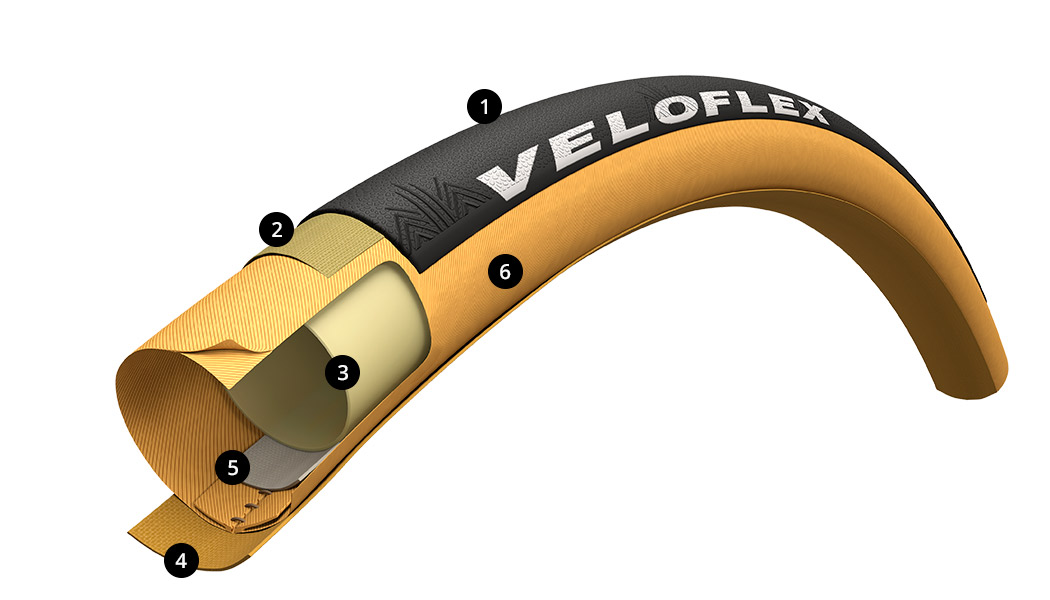
1) Thread 2) Anti-puncture belt 3) Latex inner tube 4) Casing protection tape 5) Inner tube protection tape 6) Casing
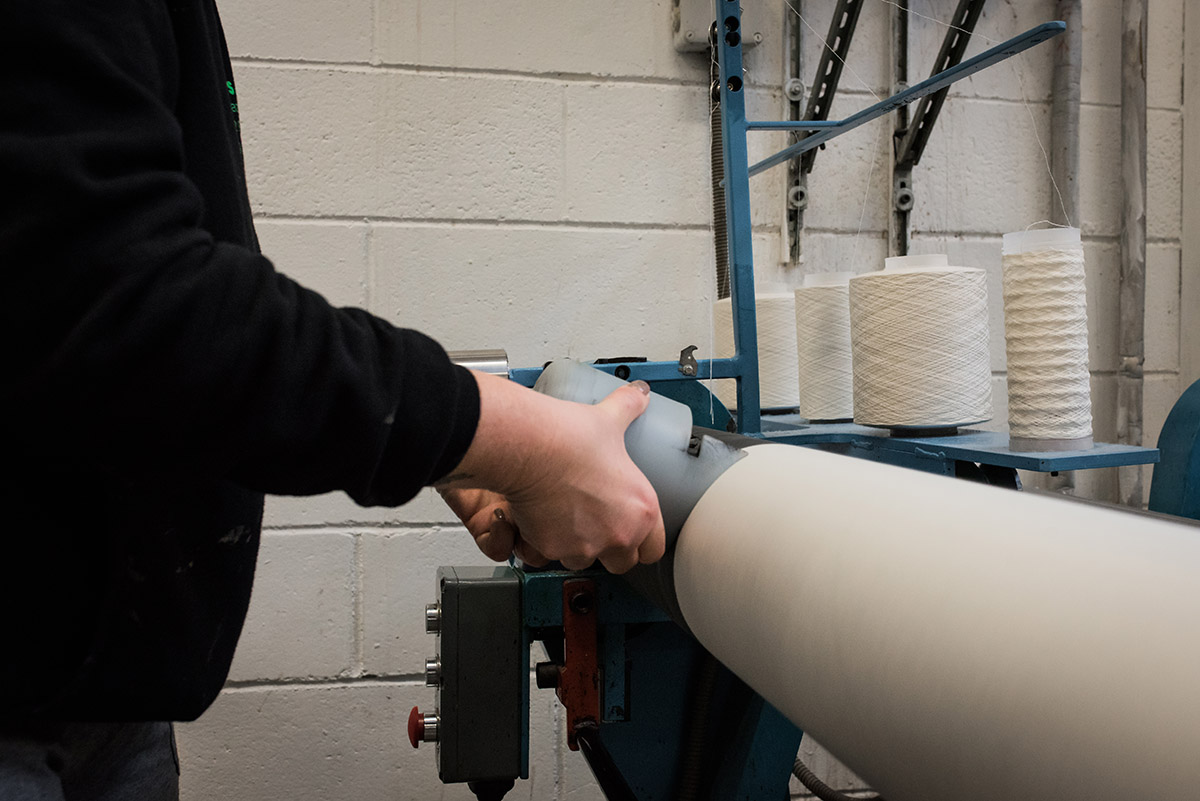
The first step to create a tubular from the basis consists of weaving the canvas that are produced in our warehouse by using Corespun, so that we get a very soft casing up to an exceptional 350 TPI (acronym of Threads Per Inch).
Once the canvas is ready, latex is spread evenly; after that the canvas is cut to suit the right size of the tubular.
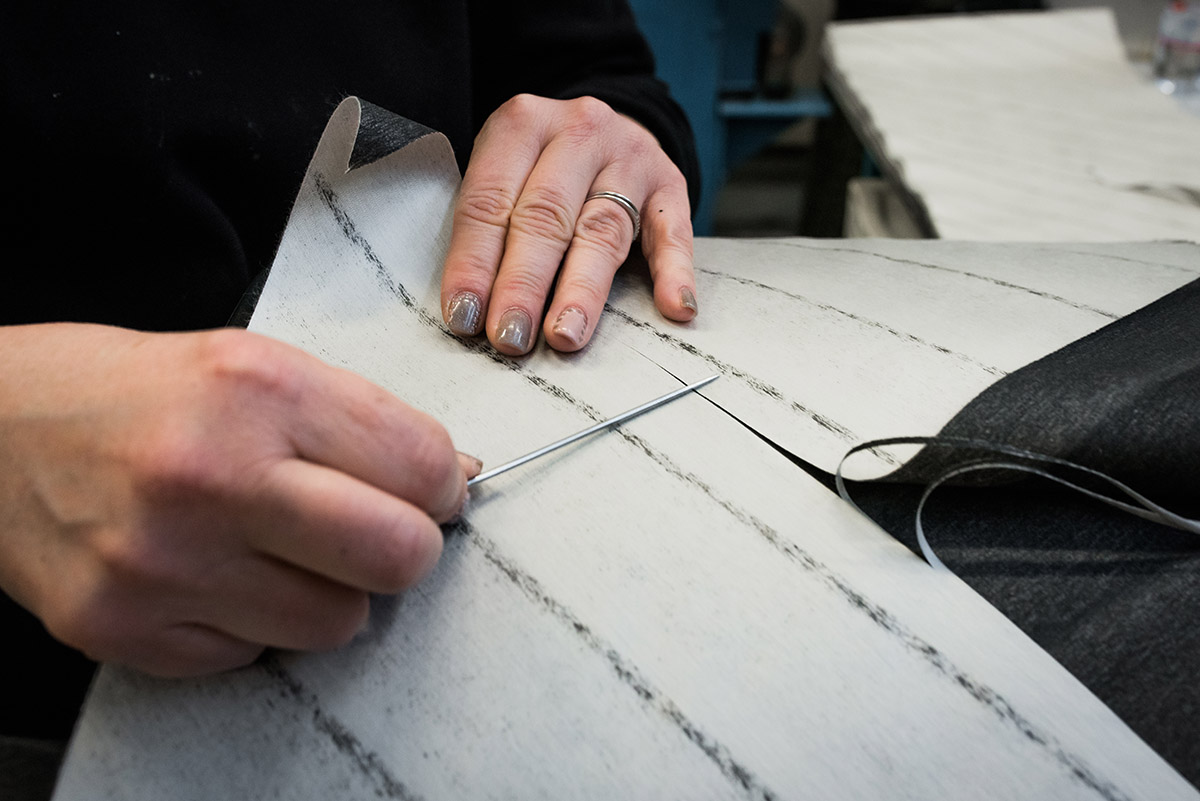
After cutting the canvas, the casing is made. We apply a tape onto one side of the edge of the casing with a sewing machine, in order to protect the inner tube from the second stitching.
The latex inner tube is designed in our lab too and it’s placed into the casing.
After that, the second strip of the tape is sewn onto the other side of the casing; at this point the air chamber is set inside and the valve goes out of the protection tape.
The area of the valve, which is in-between the two edges, is tricky and delicate to work so it needs a special kind of sewing. Therefore, it must be necessarily sewn by hand over and over again.
At that point the tubular must be centered on the rim, an operation that is key to level off the natural tensions of the tubular, otherwise they could affect the rolling of the tire once it is installed on the rim of the customer.
After mounting the tubular on the rim with the valve turned towards the outside - the tubular is ready for the external tape.
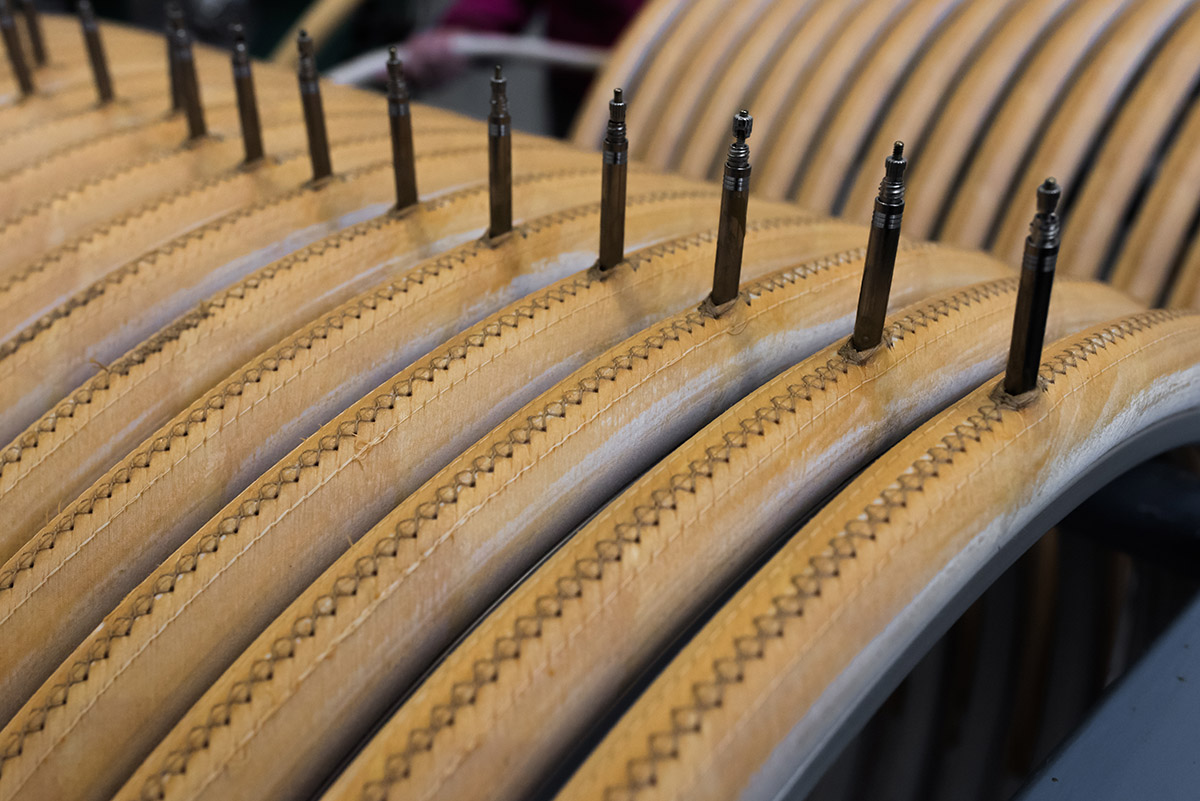
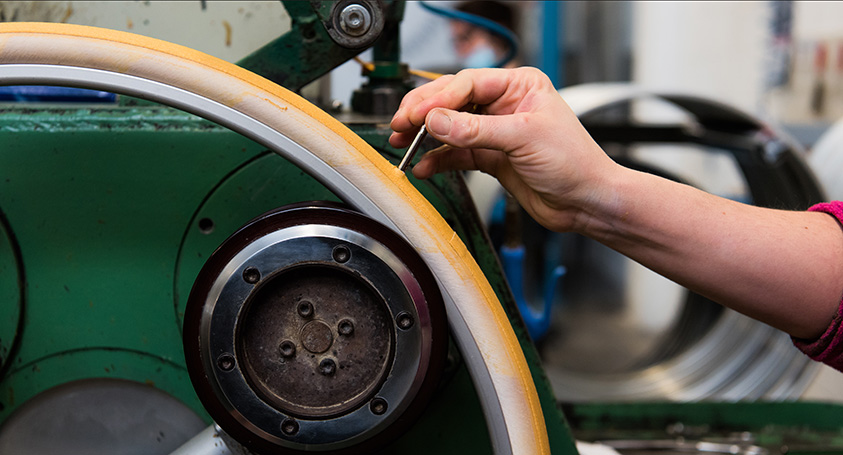
The rim tape allows the casing to be glued onto the rim and protects it from the excursion of the nipples.
After applying the rim tape and letting it dry, the taped casing is taken off the rim and mounted on other rims of standard sizes.
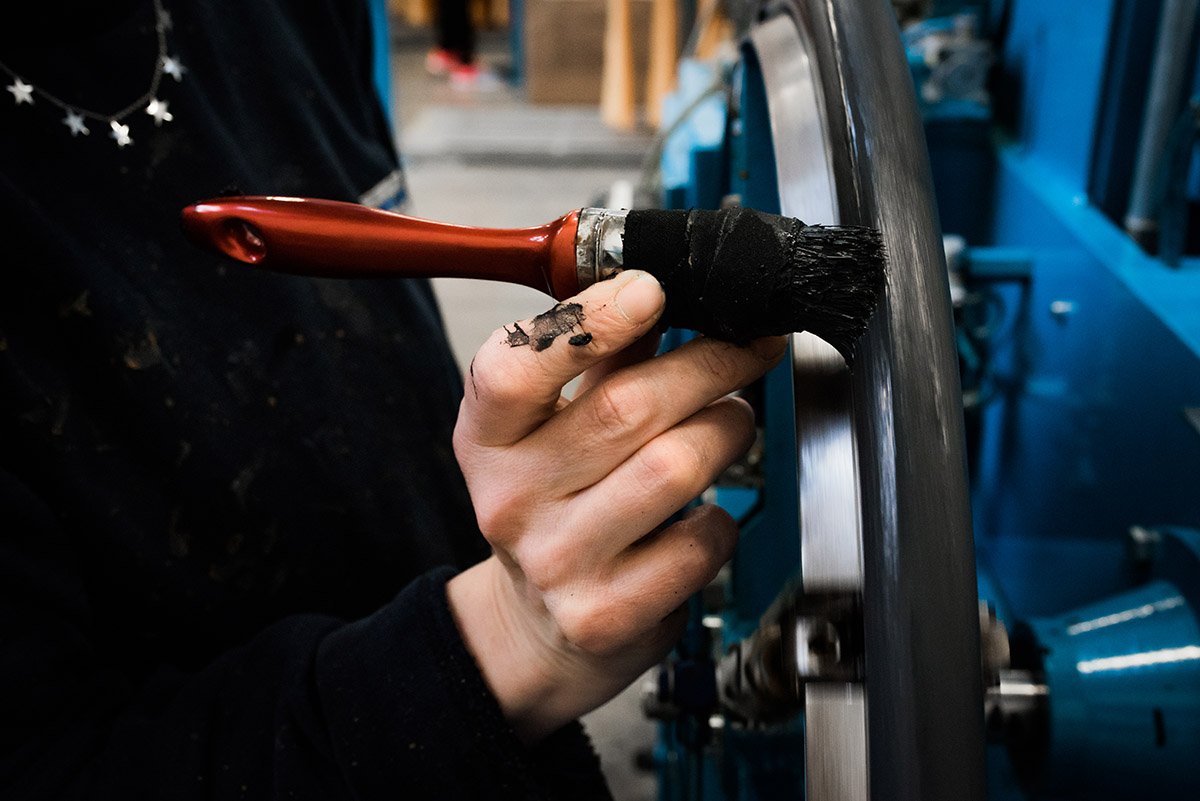
The black or gum-coloured latex is applied manually with a brush on the whole casing paying attention to spread it evenly.
Once the latex has dried off a first layer of glue is applied on the casing, and after that, a further layer is spread, after letting the first layer dry, to ensure all the areas are covered evenly as the glue must stick the tread with the casing together.
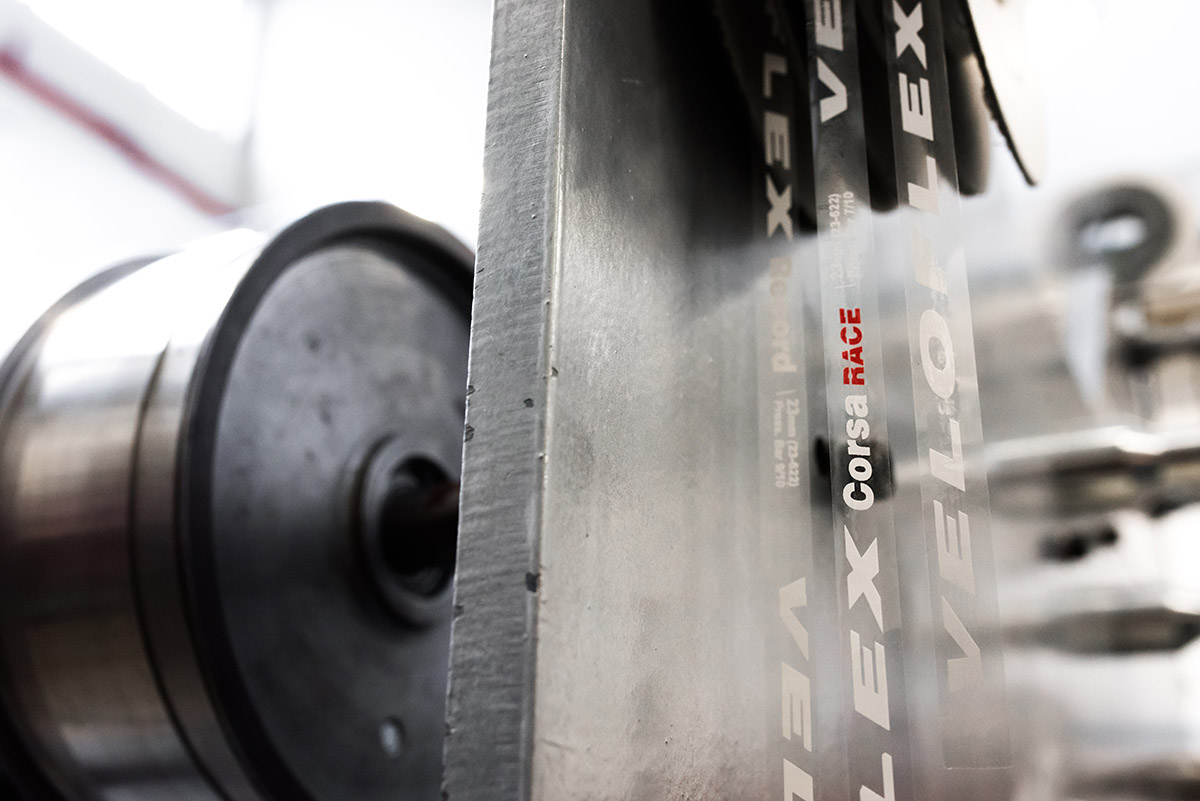
In order to make a tread, the different layers of rubber and the puncture resistant belt are glued together; at this point the transfer is applied, with all the details and information such as Veloflex logo, the right pressure and the model.
Later on, the tyre tread is put into a mould at a high temperature to be vulcanized, to make it strong and resistant.
Then the edges are cut up by hand to eliminate the excess of material. At this point the tread is ready to be glued on the casing.
After having spread the glue on both the casing and the tread they can be attached together: the tread is set on the casing and manually centred, in order to get a very precise contour of the tyre.
Once it is centred on the tread, a roller pushes the tread onto the casing. Then the roller presses the two pieces again to set this final step.
After all the stages are over, the tubulars are left on the rims inflated at a proper pressure for some days to set the last glueing, make sure the shape is maintained and check if there might be some pressure leaks.
After a few days the tubular is almost completely deflated and taken off the rim. During this stage the residue of latex is cleaned off and the tubular is checked for the last time.
After these checks, labels with the data of manufacturing and the details about the product are applied. Finally, the cap is installed to protect the mechanism of the valve.
At this point, the tubulars are ready!
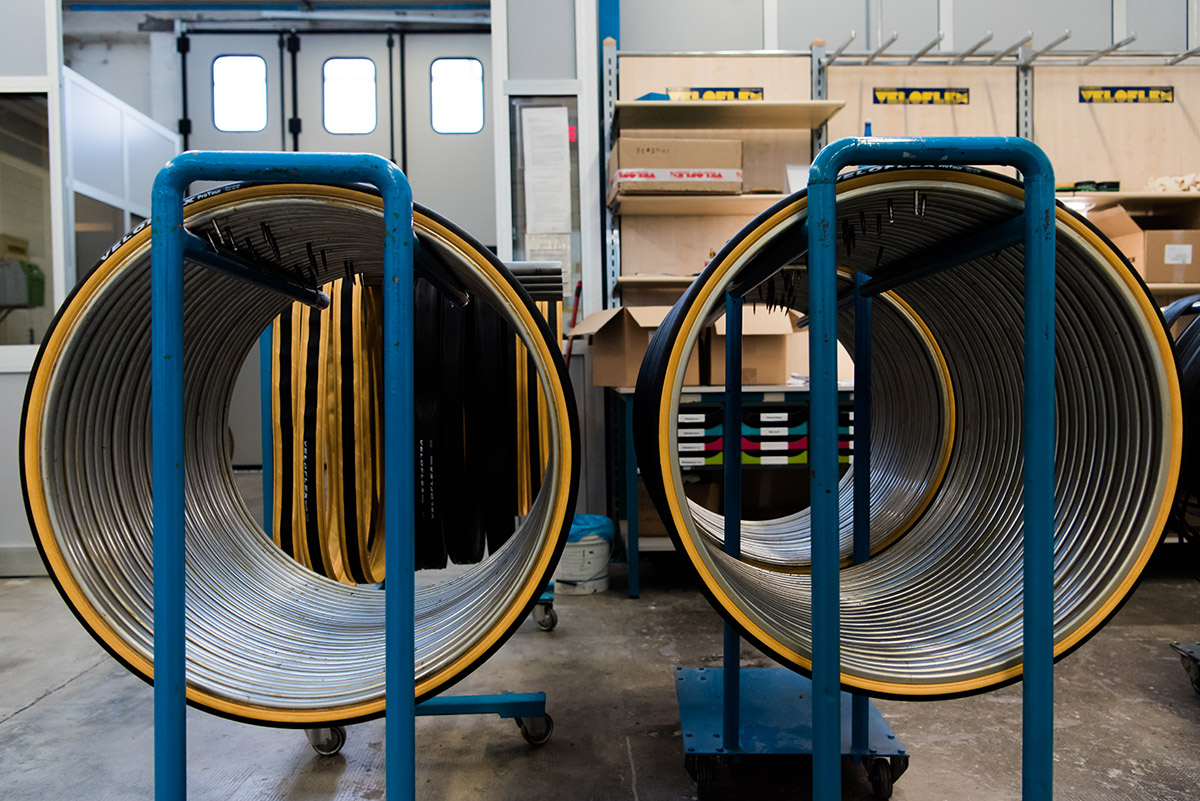
The tubular uniqueness compared to a clincher or a tubeless ready
We have written an article on our blog to help you choose between a tubular, a clincher or a tubeless ready for road bicycles. One should take into consideration many different factors, both technical and personal, when it comes to choosing the right tire.
The tubular is special for its comfort and safety that cannot be achieved by a clincher or a tubeless ready. It provides the greatest performance one could get. Yet, installing a tubular takes longer than a traditional clincher. Although, thanks to the introduction of double-sided tapes, installation is now easier, faster and cleaner than it used to be, whereas once the only viable option was using mastic.
Also, by using puncture-proof sealants you can still come back home after puncturing the tire.
The choice of professionals
Today professionals of road bicycle racing still go for tubulars.
Over time Veloflex has worked together with lots of different professional bicycle teams, winning important contests, such as Giro d’Italia, Tour de France and Vuelta a España. Many professional teams still choose Veloflex and its tubulars for their competitions to reach the top step of the podium.
Competition is a key element to us, as we love feeling the adrenaline that only pure performance can give. And the tubular remains our secret formula to win!
 English